
How to Connect AfterShokz (Shokz) Headphones in 2025 | Easy Bluetooth Pairing Guide
This Aftershokz article will show users how to connect Aftershokz to their device.
Pairing your AfterShokz (now branded as Shokz) headphones with various devices is easy and enhances your listening experience. In this guide, we explain how to connect Shokz headphones with iPhones, Android phones, computers, and more.
What Is Shokz? Understanding the Bone Conduction Advantage
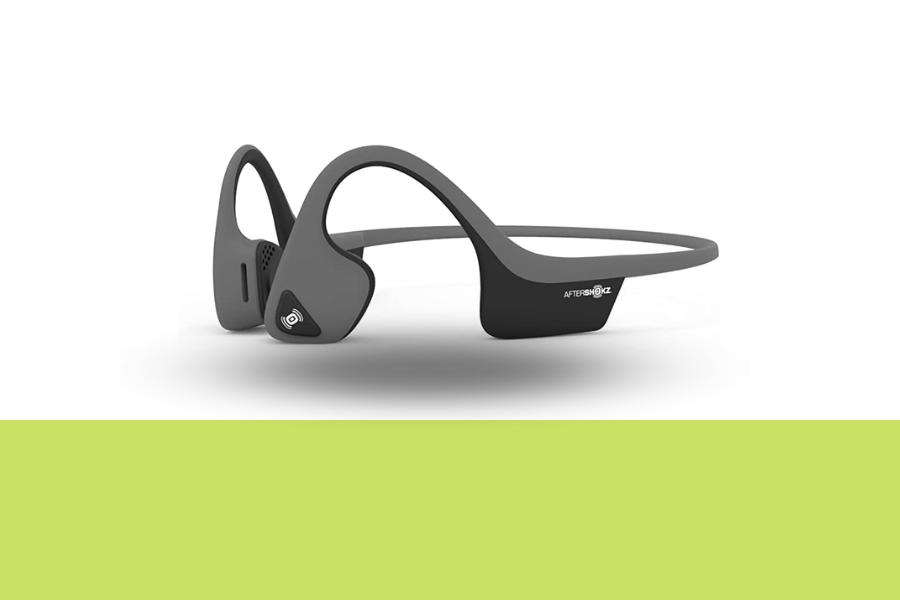
Shokz headphones employ bone conduction technology, transmitting sound directly from your cheekbones to your inner ear. The open-ear style keeps you alert to what’s going on around you, making them ideal for runners, cyclists, and outdoor enthusiasts.
Before You Pair: Essential Prepping Tips
1. Charge Your Shokz Headphones Fully
- Plug in the supplied magnetic or USB-C charging cable.
- A constant blue or green LED indicates it is fully charged.
- If you see a flashing red light, charge your headphones first.
2. Turn Bluetooth on for your Device
- Go to Settings > Bluetooth on your phone, tablet, PC, or smartwatch.
- Ensure Bluetooth is turned on and your device is discoverable.
How to Connect Shokz Headphones: Step-by-Step Guide
General Pairing Instructions
1. Power On Your Shokz Headphones
- Start with your headphones powered off.
- Press and hold the volume+ button for 5–7 seconds.
- Audrey (the voice prompt) will say, “Welcome to Shokz.”
Enter Pairing Mode
- Hold the volume+ button until the LED flashes red and blue, indicating pairing mode.
- Audrey will say “Pairing.”
Search and Select on Your Device
- On your Bluetooth-enabled device, locate the list of available connections.
- Tap on the correct model name, such as:
- Shokz OpenRun
- Shokz OpenComm2
- AfterShokz Titanium
Confirm Pairing
- Audrey will say “Connected” once paired.
- On-screen, the connection status should change to “Connected.”
Test with Audio or Calls
- Play music, stream video, or make a call to ensure everything is working.
- Use onboard buttons to adjust the volume or answer calls.
Pairing with Specific Devices
Connecting Shokz to an iPhone
- Ensure your Shokz headphones are in pairing mode (LED flashing red and blue).
- On your iPhone, go to Settings > Bluetooth and turn it on.
- Under “Other Devices,” find your Shokz model and tap to connect.
- Once connected, your Shokz headphones will appear under “My Devices” with a “Connected” status.
Connecting Shokz to an Android Device
- Put your Shokz headphones into pairing mode.
- On your Android device, enable and navigate to Settings > Connections > Bluetooth.
- In the list of available devices, select your Shokz headphones to pair.
- Confirm any pairing prompts that appear.
Connecting Shokz to a Windows Computer
- Ensure your Shokz headphones are in pairing mode.
- Go to Start > Settings > Devices > Bluetooth & other devices on your Windows PC.
- Click on “Add Bluetooth or other device” and select “Bluetooth.”
- Choose your Shokz headphones from the list of available devices.
- Follow any additional prompts to complete the pairing process.
Connecting Shokz to a Mac Computer
- Put your Shokz headphones into pairing mode.
- On your Mac, click the Apple menu and select System Preferences > Bluetooth.
- Ensure Bluetooth is turned on.
- In the list of devices, find your Shokz headphones and click “Connect.”
Connecting Shokz to an Apple Watch
- Ensure your Shokz headphones are in pairing mode.
- On your Apple Watch, go to Settings > Bluetooth.
- Your Shokz headphones should appear under “Devices.” Tap to connect.
Connecting Shokz to Multiple Devices (Multipoint Pairing)
Some Shokz models support multipoint pairing, allowing connection to two devices simultaneously. To enable:
- With your headphones powered off, enter pairing mode by holding the volume+ button until the LED flashes red and blue.
- Press and hold the multifunction button and volume+ button for 2–3 seconds. Audrey will say “Multipoint enabled.”
- Pair the first device by selecting your Shokz headphones in its Bluetooth settings.
- Turn off the headphones and re-enter pairing mode.
- Pair the second device following the same steps.
- Once both devices are paired, your headphones will connect to both simultaneously.
Troubleshooting: Can’t Connect or Pair Your Shokz?
Even the most intuitive devices can run into pairing issues from time to time. Here are tried-and-true solutions if your Shokz headphones aren’t connecting:
1. Check Device Compatibility
Ensure the device you’re trying to pair supports Bluetooth 4.1 or later. Older hardware may not detect newer Shokz models.
2. Perform a Factory Reset on Shokz
If your headphones won’t pair or are acting erratically, a reset can help.
To reset:
- Power off the headphones.
- Press and hold both the volume+ and volume− buttons simultaneously for about 10 seconds.
- You’ll hear “Factory reset,” followed by a power-off prompt.
- Re-enter pairing mode and try connecting again.
3. Update Shokz Firmware
With newer operating systems, your Shokz headphones may require a firmware update to function correctly.
Steps to update:
- Download the Shokz App from the App Store or Google Play.
- Connect your headphones via Bluetooth.
- Follow the app prompts to check for and install any available updates.
You can also visit the official Shokz Support Website for firmware tools and model-specific instructions.
4. Maintain Ideal Pairing Conditions
- Stay within 33 feet (10 meters) of the device you’re trying to connect with.
- Avoid pairing your headphones near thick walls, metal surfaces, or multiple electronic devices, which can cause signal interference.
- Keep the headphones and your device in direct line of sight during pairing for best results.
5. Reduce Interference from Other Devices
- Temporarily disconnect other Bluetooth accessories, such as smartwatches or fitness trackers.
- Move away from Wi-Fi routers, microwaves, or other devices that may cause frequency conflicts during pairing.
Tips for Seamless Use After Pairing
Once your Shokz headphones are paired, follow these best practices to keep them working flawlessly:
Enable Auto-Reconnect
Most Shokz models will automatically reconnect to previously paired devices. Make sure Bluetooth is enabled on your phone or computer before powering on your Shokz to streamline this process.
Use Voice Prompts
Listen for helpful voice cues like:
- “Welcome to Shokz”
- “Pairing”
- “Connected”
- “Battery low” These cues help guide your interaction with the headphones.
Control Playback Easily
Use the multifunction button (often on the left transducer) for:
- One press: Play/Pause music or answer a call
- Double press: Skip to the next track
- Long press: Activate voice assistant (Siri, Google Assistant)
Frequently Asked Questions (FAQs)
Turn on the headphones and hold the power button (usually volume+) until you hear “Pairing” and see a red/blue flashing LED. Then, select your Shokz model from your device’s Bluetooth menu.
Make sure Bluetooth is enabled on your iPhone (Settings > Bluetooth), then follow the pairing steps above. Tap the name of your Shokz headphones under “Other Devices” to connect.
Yes, select models (like the OpenComm2 UC and OpenRun Pro) support multipoint pairing. To enable this feature, follow the steps in the “Connecting to Multiple Devices” section.
You’ll hear “Connected,” and the LED light will stop flashing. You’ll also see the device listed as connected in your Bluetooth settings.
Put your Shokz in pairing mode, then:
On Windows: Go to Settings > Bluetooth & Devices > Add Bluetooth Device.
On Mac: System Preferences > Bluetooth > Select your Shokz model and click “Connect.”
Final Thoughts
Learning how to connect Shokz headphones in 2025 doesn’t have to be complicated. With a few simple steps, your OpenRun, OpenFit, or OpenComm2 can be paired and ready—whether you’re hitting the gym, jumping on a Zoom call, or taking a walk outside.
Thanks to Shokz’s bone conduction innovation, you can stay connected while remaining aware of your environment. Whether you’re pairing your Shokz to an iPhone, Android device, Bluetooth-enabled computer, or smartwatch, this guide ensures you’re covered from start to finish.
Pro Tip: Bookmark this page so you can revisit pairing steps anytime you add a new device.